

types of light to master as a wedding photographer
With wedding photography, there's one vital shooting element you don’t have a ton of control over - and that’s the light.
Unlike other photography sessions where you have the luxury of planning around golden hour or choosing your location based on what time the sun hits the backdrop you’ve chosen, when you show up to shoot a wedding you’ve got to work with the lighting and conditions you’re given.
That means if the ceremony is held under trees that cast dappled light or in a dark indoor setting - you’ve got to know how to shoot in all kinds of light. It’s a crucial skill for any wedding photographer.
In this episode of the podcast (or keep reading below) we’re sharing how we work with different types of light at our weddings, and how we work with our clients to help them help us take the best photos. Regardless of the weather, location and lighting.
Scout out lighting and locations as soon as you arrive To your wedding
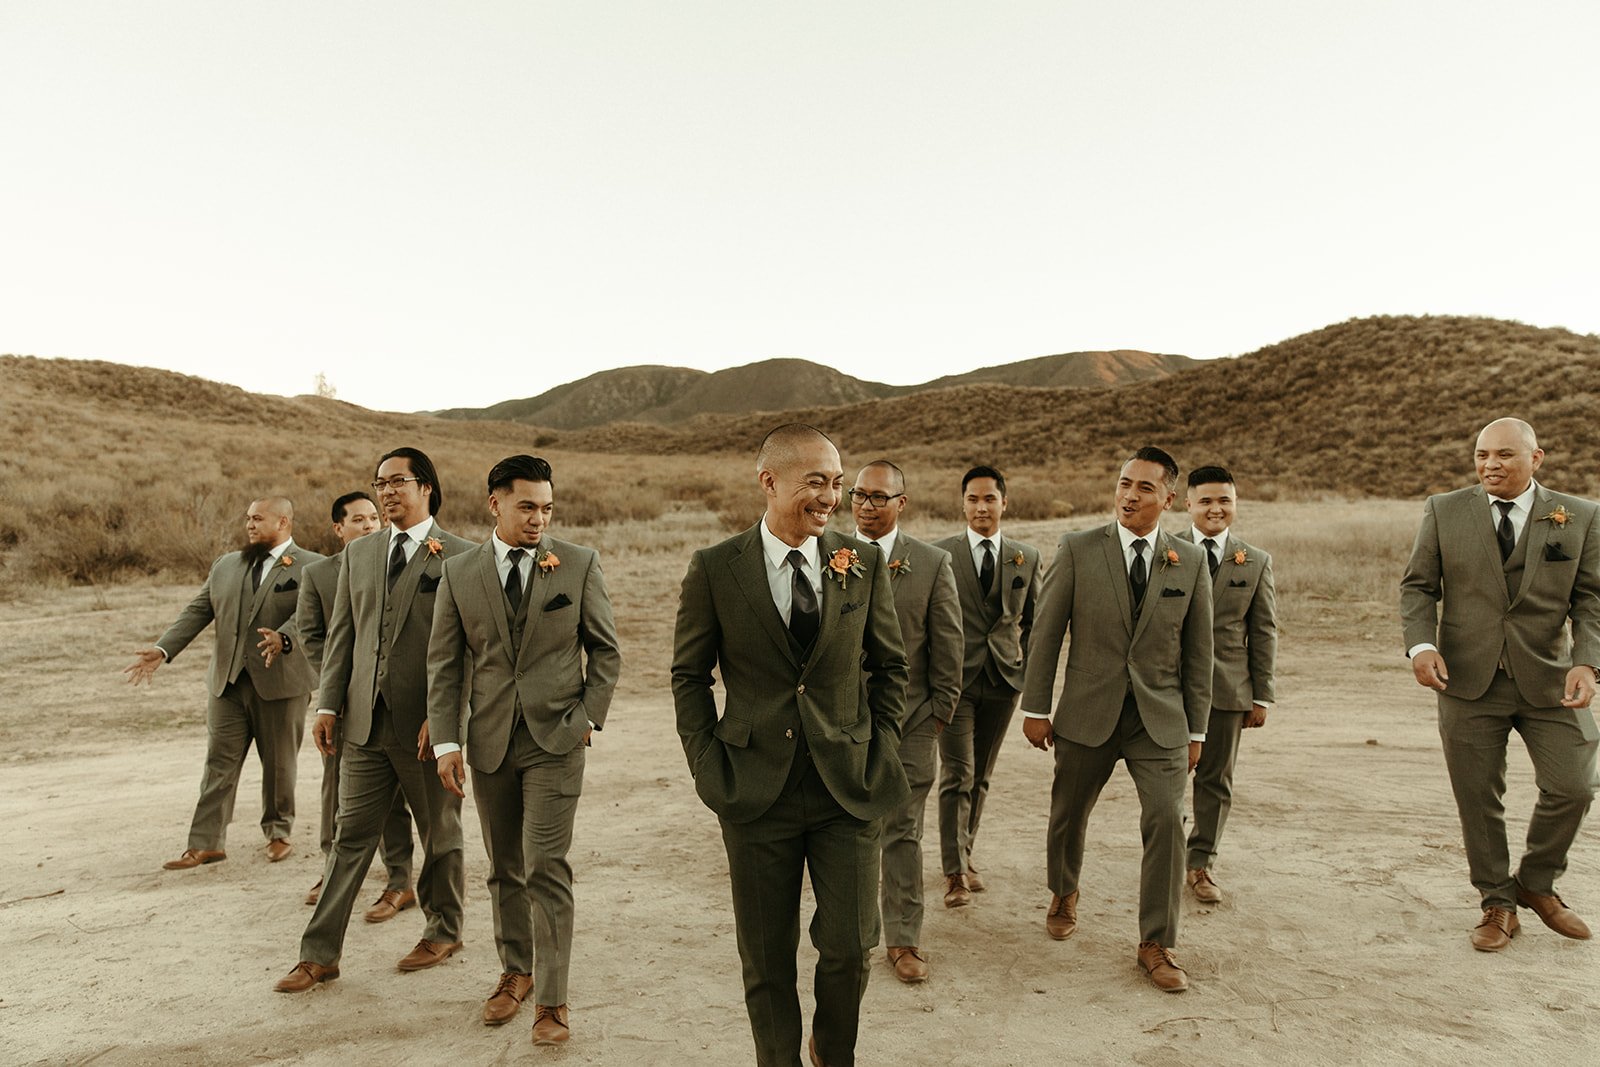
The first thing we do when we arrive to a wedding is look for shade or an open area with even light that will fit larger groups of people. (for wedding party and/or family photos)
These can be the hardest to find, but also the one spot that will make your life easier. We also tend to place our couples in shaded areas like this during moments like the first look where you’re capturing emotion and genuine reactions. That way as your couples move around, they won’t be randomly thrown into harsh/contrasty light, causing you to miss the moment.
Train your eye to search for a row of trees, a building or anything that casts a large enough shadow for a group of people to move around in and remain evenly lit across the board.
If you can’t find a shaded spot and all you have to work with is a wide open field in open sun, we typically put the sun to our subjects backs and do our best to photograph group photos that way.
You’re looking for a space where you can fit about five to ten people in a line, in one area.
And here’s our most important rule when it comes to lighting…
Prioritize good lighting over a good background.
Sometimes when you show up to a wedding, the most epic backdrop is set in the absolute worst lighting. Even if it’s insanely stunning, we would avoid putting groups in this area for the majority of the photos. Anything that is meant to focus on peoples faces (like wedding party or family photos) should be shot in even lighting. Once you have those done, you can pull everyone over to the harsh/crazy lighting in front of the epic backdrop for some more creative shots.
Just make sure to communicate to your couples that you want to put them in the best lighting to ensure they look bomb, and that you’ll sneak them over to the epic backdrop afterwards to get the best of both worlds.
We use the Sun Seeker app to tell us where the sun is going to be at each hour of the wedding day. That way we know where the best shaded areas will be as we’re planning out where to have groups meet for photos.
Otherwise you’ll think you’ve found a great spot, but once the ceremony is over and the sun’s moved, it could be bathed in harsh light - meaning you’ll get squinty eyes with dark circles underneath.
Not only will taking the time to do this save you stress later on in the day, but it’ll save you a headache when you come to editing your photos too.
lens flare
Sun flare can look really pretty, but it can easily cut someone out of a picture or land right on their face, so you want to control it as much as possible.
If you’re shooting directly into the sun and it’s causing unwanted lens flare, hold one hand over the top of the lens to block out the light, or ask your assistant to hold something over the top of your lens, like a clipboard or their hand, until it disappears.

Educate your couples about lighting along the way
Communication is key. Most of the time your couples won’t fully understand the importance of the light and how it affects the photographs. So, you need to educate them along the way.
The more you educate them, the more they will trust you.
pay attention to where the sun is, Even when it’s cloudy.
When it’s a cloudy day it’s easy to think “yes! I don’t have to worry about the light!”. You still want to pay attention to where the sun is in the sky. Use the clouds as a huge soft box and point the sun directly at your subject's face to avoid those under-eye shadows.
use window for your getting ready detail shots
When you’re shooting indoors, particularly during getting ready photos, find a window where the light is pouring in.
As your couple is getting dressed ask them to step towards the window so you can make the most of the natural light.
You can also always throw your flash on to add a different feel and bring some variety to your gallery.

Shooting in dappled light during a ceremony
One of our biggest frustrations with so many beautiful venues is that the ceremony area is set up in the WORST light.
Dappled light is probably the hardest light to work with. Maybe there’s a tree at the end of the aisle and the sun is randomly pouring in in a spotty way. It happens - so it’s something you want to get comfortable with shooting in.
The Rule of thumb we follow when shooting in harsh light and tricky conditions is to expose for the highlights. Prioritize your settings to the couple, rather than exposing for the whole space. You might have to adjust in the editing room, but we always prioritize exposing for the highlights in the skintones.


using your flash
The one lighting element you can actually control on a wedding day is your flash.
Stay mindful that this is a specific look, and you may want to weave it in and out of certain moments throughout the day.
One time we avoid using flash at all costs is during the ceremony. It just feels distracting for our couples and their guests, and whenever possible we use all natural light.
The obvious time to use flash is on the dance floor or after the sun goes down, but remember, flash is a tool to help you take control of your lighting whenever you need to!
Especially during contrasty moments like cocktail hour where the sun is still out, but peoples faces start to feel dark, pull your flash out and fill in those shadows.
If you’re at a venue where you have difficult lighting give your couple some options. Do some with and without flash to add variety.
We teach our best tips and go-to settings for shooting with flash in our Flash Guide.

Embracing harsh light
We love a good harsh light moment. Especially when the brides dress has a little sparkle or certain texture to it, harsh light can really emphasize those elements.
We typically look for a simple backdrop when looking for harsh light so the focus remains on your subject. Something like a plain wall, open field etc. works great.
Keep in mind your couple will probably not be able to look at the camera without squinting, so use this as an opportunity to have them look at each other or off into the distance. It’s also a great time for some killer solo shots.

Using natural light in creative ways on a wedding day
When photographing details you can get creative with the different types of natural light.
Maybe there’s a beam of light coming in through a window you can use to capture a small detail. Or maybe there’s really beautiful lighting somewhere where you can create a flat lay.
Pay attention to fabrics and textures, and what kind of lighting highlights them best. For example, if there is a silk element, we would stick it in some direct, harsh light to bring out the shine.

It’s a case of experimenting a little and training your eye to get creative with the light you’ve got.
Ultimately, the more comfortable you become with shooting in all sorts of different light the better your wedding photography is going to be – and the more confident you’ll feel going into every wedding.